Author Archives: katy

pizza puffs

Standard

pizza puffs  I  frozen pizza, again?

Pepperoni Pizza Puffs

 
These pizza puffs are easy and delicious! They can be served as lunch, dinner, snack, or appetizer. (Russell has even eaten them for breakfast.)

[Side Note completely unrelated to pizza puffs: Russell and I are in the process of moving back to our home state, so the blog will be on hiatus for a bit until we get settled in.]

 
pizza puffs  I  frozen pizza, again?

Mini Black Olive Pizza Puffs

 
Pizza Puffs
From the Kitchen of: Lick the Bowl Good

Prep Time: 45 minutes – 1 hour
Servings: 2-3 (as a meal; more if snack or appetizer)
Difficulty: Easy

{Ingredients}
¾ cup all-purpose flour
¾ tsp baking powder
1 Tbsp Italian seasoning
pinch of salt (optional)
pinch of red pepper flakes (optional)
¾ cup whole milk (I used 2%)
1 egg, lightly beaten
1 cup shredded mozzarella cheese (I like to use ½ cup cheddar, ½ cup mozzarella)
¼ cup grated parmesan cheese (I used the cheese in the green container)
1 cup cubed pepperoni (or other topping of choice)
½ cup store-bought pizza sauce (optional)

{Instructions}
Preheat the oven to 375°F. Grease a 24 cup mini-muffin pan or regular 12 cup muffin pan. Set aside.

In a large bowl, whisk together flour, baking powder, Italian seasoning, salt, and red pepper flakes (if using) ; whisk in milk and egg. Stir in mozzarella, parmesan and pepperoni; let stand for 10 minutes.

Stir the batter and divide among the muffin cups. Bake until puffed and golden, 20 to 25 minutes.

Meanwhile, microwave the pizza sauce until warmed through. Serve the puffs with the pizza sauce for dipping. (I prefer mine without dipping sauce.)

{Notes}
All of my batter did not fit into the 24 cup mini-muffin pan, so I made a full-size muffin with the leftover batter. Some pans are larger than others so you may not have an issue.


-♥-
Katy


If you liked this recipe, you might also be interested in:

cheesy italian quick bread  I frozen pizza, again? feta, cheddar, and spinach muffins  I  frozen pizza, again? sausage cheese crescent squares  I  frozen pizza, again?
Cheesy Italian Quick Bread // Feta, Cheddar, and Spinach Muffins // Sausage Cheese Crescent Squares


organizing a desk

Standard

Today I wanted to share with you a project I did a few months ago that I just kept forgetting to write about: I decided to finally do something about my messy desk. It’s the only thing in my house I can’t seem to keep organized, and it drives me CRAZY!

 
Russell’s side of the desk was designed as a computer desk and has a built-in shelf above his monitor. My side of the desk was designed as a craft desk, with no built-in shelf, and a computer was added later. My desk was sorely in need of organization but with no real solutions – not really possible to add a built-in shelf and couldn’t find a good desk organizer for a good price.

 
desk organization  I  frozen pizza, again?

This is when we were building the desk (November 2011). Russell’s side is on the left, mine is on the right.

 
Well, back in March I discovered any easy solution that didn’t involve much work or spending any money: a small shelving unit that I had brought home from my parents’ place over Christmas break. I had intended to use it as an extra bookshelf in our home office, but it didn’t fit next to the bookshelf we already had.

I also added a few plastic organizers – drawers for pens, desk supplies, etc; desk tray for random papers; and a letter sorter. All of these I items I already owned or borrowed from Russell’s office at the church (he wasn’t using them, so I did).


Before

desk organization  I  frozen pizza, again?

desk organization  I  frozen pizza, again?


After

desk organization  I  frozen pizza, again?

desk organization  I  frozen pizza, again?

If you are curious why there are a bunch of tissue boxes lined up against the wall, it is because a certain little kitty named Malcolm used to chew on the ethernet cord.

 
This shelf has already been recycled many times. It started out as an end piece for my college apartment’s kitchen bar. When I moved out of that apartment my brother used it as a bookshelf next to his desk. Now it holds all the items that would otherwise be piled up on my desk.

I love finding easy solutions like this that don’t require spending any money!


-♥-
Katy


meow monday

Standard

Tiger the pick pocket – caught red-pawed!

meow monday  I  frozen pizza, again?


Tiger and Mal consoling each other after having to take a bath.

tiger & mal  I  frozen pizza, again?


Mal helped Russell kill the bad guy.

meow monday  I  frozen pizza, again?


Tiger’s favorite window seat. He likes to rest his head on the sill and watch the birdies (we have a feeder right outside the window).

meow monday  I  frozen pizza, again?


-♥-
Katy


If you thought these kitties were cute, you might also be interested in:

tiger tuesday  I  frozen pizza, again? tiger tuesday  I frozen pizza, again? tiger3  I  frozen pizza, again?
Tiger Tuesday // Tiger Tuesday // Tiger Tuesday

feta, cheddar, and spinach muffins

Standard

feta, cheddar, and spinach muffins  I  frozen pizza, again?

 
I am not a fan of muffins because they are typically sweet. (I have the opposite of a sweet tooth; I have a salty tooth.) But I found these non-sweet muffins quite tasty, probably because they are more like biscuits than muffins.

I was a little nervous about trying this recipe because it is written in metric units (and I’m terrible at math), but the conversion part was solved for me when I remembered that the digital kitchen scale Russell got me for my birthday has both ounces and grams.

 
feta, cheddar, and spinach muffins  I  frozen pizza, again?

 
Feta, Cheddar, and Spinach Muffins
From the Kitchen of: I Like Ginger Biscuits

Prep Time: 1 hour
Servings: 12 muffins
Difficulty: Easy

{Ingredients}
2 ¼ cups/ 300 grams all-purpose flour (a slightly rounded cup is okay)
2 ½ tsp baking powder
1 tsp cayenne pepper
1 egg
1 cup/ 220 ml milk (I used 2%)
2 Tbsp/ 30 grams butter
half a red onion, chopped (I think you could substitute any onion)
2 ¾ well-packed cups/ 130 grams fresh baby spinach after stems have been removed
1 ⅓ cups/ 100 grams shredded cheddar cheese
1 cup/ 150 grams crumbled or chopped feta cheese

{Instructions}
Preheat oven to 325°F/ 170°C/ gas mark 3. Spray a muffin pan with non-stick baking spray. Set aside.

Melt butter in a sauté pan; add chopped onion and cook until soft and browned.

While onion is sautéing mix together flour, baking powder, and cayenne pepper in a large bowl. In a separate small bowl whisk together egg and milk. Add egg mixture to dry ingredients; stir to combine.

Chop the spinach into small pieces. Add both cheeses, spinach, and onion to ingredients in the large bowl and stir to incorporate. You may need to add a couple splashes of milk if the batter is too dry or won’t mix well.

Kitchen Tip: An easy way to chop spinach – stack several leaves on top of each other. Cut into strips, then rotate 90 degrees and slice again. Run knife through pieces a few more times until you achieve desired size of pieces.

Scoop into muffin pan using an ice cream scoop (this gives them a nice rounded shape). The muffin cups should be at least ¾ full.

Bake for 30-35 minutes or until a toothpick comes out mostly clean. (There may be a few crumbs or melted cheese on the toothpick, but the crumbs will look done. If the crumbs come out translucent and underdone stick the muffins back in the oven for few minutes at a time until cooked all the way through.)

{Notes}

  • The batter will be very dense, more like biscuit dough, and the muffins will not rise much in the oven.
  • Though cayenne is usually a spicy ingredient, in these muffins it just kicks up the flavor (but without the heat).
  • The amount of chopped spinach called for is 2 ½ cups, but I only used 1 ½ cups of chopped spinach because I didn’t think an extra cup would actually mix into the batter.
  • I do not recommend using muffin cups for this recipe because the muffins will stick to the paper.


-♥-
Katy


If you liked this recipe, you might also be interested in:

impossible ham n swiss pie  I  frozen pizza, again? sausage cheese crescent squares  I  frozen pizza, again? cheddar bay biscuits  I  frozen pizza, again?
Impossible Ham ‘N Swiss Pie // Sausage Cheese Crescent Squares // Cheddar Bay Biscuits

kitchen tip: perfectly shredded chicken in a snap

Standard

This tip comes from the kitchen of Simply Healthy Family.
kitchen tip: perfectly shredded chicken  I  frozen pizza, again?


Attach paddle/flat beater to KitchenAid stand mixer. Place WARM/HOT chicken in mixer bowl. (Refrigerated chicken is harder and may harm your mixer.)
kitchen tip: perfectly shredded chicken  I  frozen pizza, again?

Look at that steam!

 
Turn to speed 4-6, and in 20 seconds you will have perfectly shredded chicken!
kitchen tip: perfectly shredded chicken  I  frozen pizza, again?


{Note}
The last time I shredded chicken this way I put in 4 small-medium breasts (shown in photo above) at speed 4, and my mixer started to shake a bit and make an odd noise. I had to lower it to speed 2 to finish shredding the chicken. I have tried this trick before and had no problems, though I can’t remember how many pieces of chicken I put in the bowl, so I’d recommend sticking with three medium-sized pieces at a time.

 
Now you can use this tip when you make Lime Chicken Taco Bowls, White Chicken Enchiladas, or any other recipe requiring shredded chicken!


-♥-
Katy


If you liked this kitchen tip, you might also be interested in:

burned dessert top  I  frozen pizza, again? honey tip  I  frozen pizza, again? hummus broccoli  I  frozen pizza, again?
How Not to Ruin Dessert // How to Easily Measure Out Honey // The Best Way to Cook Broccoli

lime chicken taco bowls

Standard

lime chicken taco bowls  I  frozen pizza, again?

 
This is a super easy slow cooker meal that requires very little prep work (either before or after the slow cooker has done its job). Most people associate citrus with summertime so this dish presents itself as being a great summertime meal.


lime chicken taco bowls  I  frozen pizza, again?

 
Lime Chicken Taco Bowls
Adapted from the Kitchen of: Taste of Home

Prep Time: 3 – 6 hours + 40 mins
Servings: 4
Difficulty: Easy

{Ingredients}
1 ½ lbs boneless, skinless chicken breasts
3 Tbsp lime juice
1 Tbsp chili powder
½ Tbsp dried cilantro
1 cup frozen corn
1 cup chunky salsa
1 cup uncooked white rice
sour cream, shredded cheddar cheese, and shredded lettuce, optional

{Instructions}
Spray slow cooker with non-stick cooking spray. Place chicken on the bottom of the slow cooker.

Combine lime juice, chili powder, and cilantro; pour over chicken. Turn chicken to coat in marinade. Cover and cook on low: 3 hours for a 5 quart crock, 5-6 hours for a 3 quart crock, or until chicken is cooked.

Remove chicken, shred, and return to slow cooker. Stir in frozen corn and salsa. Cover and cook on low for 30 minutes or until heated through.

During last 30 minutes of cooking prepare rice according to package instructions.

Once everything is cooked serve chicken mixture over rice in a bowl. Top with sour cream, cheese, and lettuce if desired. 

{Notes}

  • This dish reheats well, making it great for leftovers.
  • The heat level of this dish is determined by the type of salsa you use. The chili powder does not add any heat/spiciness.
  • You can use two forks or a stand mixer to shred the chicken. Come back tomorrow for my kitchen tip on how to shred chicken in a stand mixer!


-♥-
Katy


Linking up to: Totally Tasty Tuesday, Tasteful Tuesdays, Link Party Tuesday!, Whatever Goes Wednesday, Look What I Made! Wednesday, Made by Me! Wednesdays, Weekend Potluck


If you liked this recipe, you might also be interested in:

perfect chicken  I  frozen pizza, again? white chicken enchiladas  I  frozen pizza, again? chicken rotel pasta  I  frozen pizza, again?
Perfect Chicken // White Chicken Enchiladas // Chicken Ro-Tel Pasta

parmesan cheddar squash casserole

Standard

parmesan cheddar squash casserole  I  frozen pizza, again?

 
How appropriate that I am posting this yummy recipe at the beginning of summer! It is a great recipe for summer because yellow squash is in season. You could even substitute zucchini, which is also in season, for some of the squash.

 
parmesan cheddar squash casserole  I  frozen pizza, again?

 
Parmesan Cheddar Squash Casserole
From the Kitchen of: NancyCreative

Prep Time: 1 – 1 ½ hours
Servings: 10-12
Difficulty: Easy

{Ingredients}
4 lbs yellow squash, sliced (or about 8 cups sliced)
4 Tbsp butter, divided
1 large sweet onion, finely chopped
2 garlic cloves, minced (I used garlic powder)
2 ½ cups homemade soft breadcrumbs, divided
1 ½ cups shredded parmesan cheese, divided
2 cups (8 wt oz) shredded cheddar cheese
½ cup chopped fresh chives
½ cup minced fresh parsley
1 cup sour cream
1 tsp salt
1 tsp pepper
2 large eggs, lightly beaten
¼ tsp garlic salt

{Instructions}
Preheat oven to 350°F.

In large skillet,* cook squash, covered in boiling water, for 8-10 minutes or until tender. Drain well and remove squash from skillet. Gently press squash between paper towels to remove remaining moisture and set aside. (I left the squash sitting on paper towels until I needed it. I periodically changed out the paper towels when they got too wet.)

In same large skillet, melt 2 Tbsp butter over medium-high heat; add onion and garlic,* and sauté 5 – 6 minutes or until tender. Remove skillet from heat; stir in squash, 1 cup bread crumbs, ¾ cup Parmesan cheese, and remaining ingredients (cheddar through eggs) except for garlic salt. Spoon into a lightly greased 9×13 inch baking dish.

Melt remaining 2 Tbsp butter and stir with remaining 1 ½ cups breadcrumbs, ¾ cup Parmesan cheese, and garlic salt. Sprinkle mixture evenly over the top of the casserole. (You can also sprinkle another ½ cup of cheddar cheese on top to make it extra cheesy.)

Bake for 35-40 minutes, or until set. This makes 8-10 servings.

{Notes}

  • I needed 2 large pots to cook all of the squash; each was about ½ – ¾ full.
  • If using garlic powder do not cook with onions. Add with parmesan cheese and bread crumbs.

{Fun Fact}
Q: Is squash a vegetable?
A: “[S]quash and gourds are actually fruits! Because they aren’t sweet, they are typically used as vegetables. But by botanical definition, fruits have their seeds on the inside. Squash are fruit, like tomatoes.” – The Nibble


-♥-
Katy


If you liked this recipe, you might also be interested in:

hummus broccoli  I  frozen pizza, again? crash hot potatoes  I  frozen pizza, again? roasted zucchini and carrots  I  frozen pizza, again?
Hummus Broccoli // Crash Hot Potatoes // Roasted Zucchini and Carrots

homemade soft bread crumbs [with tutorial]

Standard

soft bread crumbs  I  frozen pizza, again?

If you click to enlarge the image, you can see the texture of the crumbs well.

 
I had never heard of soft bread crumbs until I came across a recipe that called for them. So first I figured out the difference between soft and dry bread crumbs. Here’s what I learned thanks to Wikipedia: “Dry breadcrumbs are made from dry breads which have been baked or toasted to remove most remaining moisture, and may even have a sandy or even powdery texture. […] The breads used to make soft or fresh bread crumbs are not quite as dry, so the crumbs are larger and produce a softer coating, crust, or stuffing.”

Then I discovered how easy it is to make your own soft bread crumbs; so that’s what I did. I even took pictures along the way to share with you! Come back tomorrow for the tasty recipe that required me to learn this new skill! (That recipe can be found here.)

 
What you’ll need: slices of fresh bread and a blender or food processor
soft bread crumbs  I  frozen pizza, again?

 
Tear several slices of fresh bread into 1 inch pieces. (I even used a couple of slices that were starting to go stale.)
soft bread crumbs  I  frozen pizza, again?

 
Place pieces into a food processor or blender. (The blender isn’t very full; it’s just above the bottom mark on the pitcher, even though it’s hard to see that in this photo.)
soft bread crumbs  I  frozen pizza, again?

 
Cover and pulse several times to make coarse crumbs.
soft bread crumbs  I  frozen pizza, again?

 
Homemade Soft Bread Crumbs
From the Kitchen of: Taste of Home

Prep Time: 2 mins
Servings: 1 slice of bread = about ½ cup crumbs
Difficulty: Easy

{Ingredients}
slices of fresh bread – white, wheat, or French
blender or food processor

{Instructions}
Tear several slices of fresh bread into 1 inch pieces. (I even used a couple of slices that were starting to go stale.)

Place pieces in a food processor or blender. Cover and pulse several times to make coarse crumbs. Use immediately.

{Notes}

  • If using a blender, do not overfill it. You should put enough torn pieces in the blender to cover the blades but not so many that the blades can’t reach the top pieces to chop them up. I filled mine somewhere between the 1-2 cup or ¼ – ½ liter mark.
  • Some websites have said that you can store soft bread crumbs in the freezer for later use, but I have not personally tried this.


-♥-
Katy


If you liked this recipe, you might also be interested in:

homemade taco seasoning  I  frozen pizza, again? cheesy italian quick bread  I  frozen pizza, again? cheddar bay biscuits  I  frozen pizza, again?
Taco Seasoning Mix // Cheesy Italian Quick Bread // Cheddar Bay Biscuits

homemade toilet bowl cleaner

Standard

I’ve been adventuring outside my kitchen comfort zone again! This time in the field of house cleaning, or more specifically bathroom cleaning.

 
I came across this homemade toilet bowl cleaner a while ago, but I was waiting until my store-bought bottle of bowl cleaner ran out to try it. Well, my cleaner ran out and I couldn’t wait any longer to clean the toilet (let’s face it, nobody likes cleaning the toilet), so I finally tried this homemade cleaner.

My conclusion: it’s not any more difficult to use than a store-bought cleaner, it’s way cheaper, and it uses supplies you probably already have around the house. And, for all you moms out there, it is non-toxic so you don’t have to worry about using harsh chemicals around your kids (or pets). Sounds like a keeper to me!

 
{Ingredients}
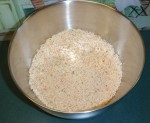
1 cup baking soda
[softens water, cleans, deodorizes, scours]
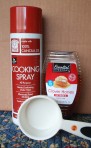
1 cup white distilled vinegar [cuts grease; removes mildew, odors, some stains, and wax build-up]
spray bottle (optional)*

*I recommend using a heavy-duty spray bottle because they provide a strong spray stream. It can be found in the cleaning supplies aisle of the grocery store.

 
homemade toilet bowl cleaner  I  frozen pizza, again?

 
Similar homemade bowl cleaner recipes are all over the internet. Some just leave the water in the bowl and have you dump the cleaner into it. But to me that seems a bit counterproductive because the water dilutes the cleaner.

Others have you flush the water out of the bowl before cleaning by either: 1. turning off the water valve and flushing until there is no more water in the bowl, or 2. pouring a bucket of water into the bowl to flush the bowl water out. I’m not really a fan of either of those options because it seems like such a waste of water. So, I found another option that doesn’t waste any water: plunging the bowl water out. (I would link to the site where I discovered this idea, but I can’t find the link anymore.)

 
{Instructions}
Adapted from the Bathroom of: One Good Thing by Jillee

Use the plunger in the toilet as you normally would, but instead of dislodging a clog you will be pushing the water out. Try to get out as much water as you can; all of it may not plunge out but you can get most of it out.

Sprinkle baking soda all around the inside of the bowl (even up under the rim), then either spray or pour vinegar into toilet. There will be some bubbling, which is a harmless chemical reaction.

Note: I recommend setting the sprayer to heavy mist to spray the bowl, otherwise the vinegar will wash the baking soda into the water at the very bottom of the bowl. But use the stream setting to spray up under the rim.

When the bubbling has subsided, scrub the toilet with toilet brush. After scrubbing, spray another light mist of vinegar all around inside of bowl. Leave vinegar and baking soda in the toilet for a few hours or even overnight.

Scrub the toilet one more time, then flush to rinse away the cleaner.
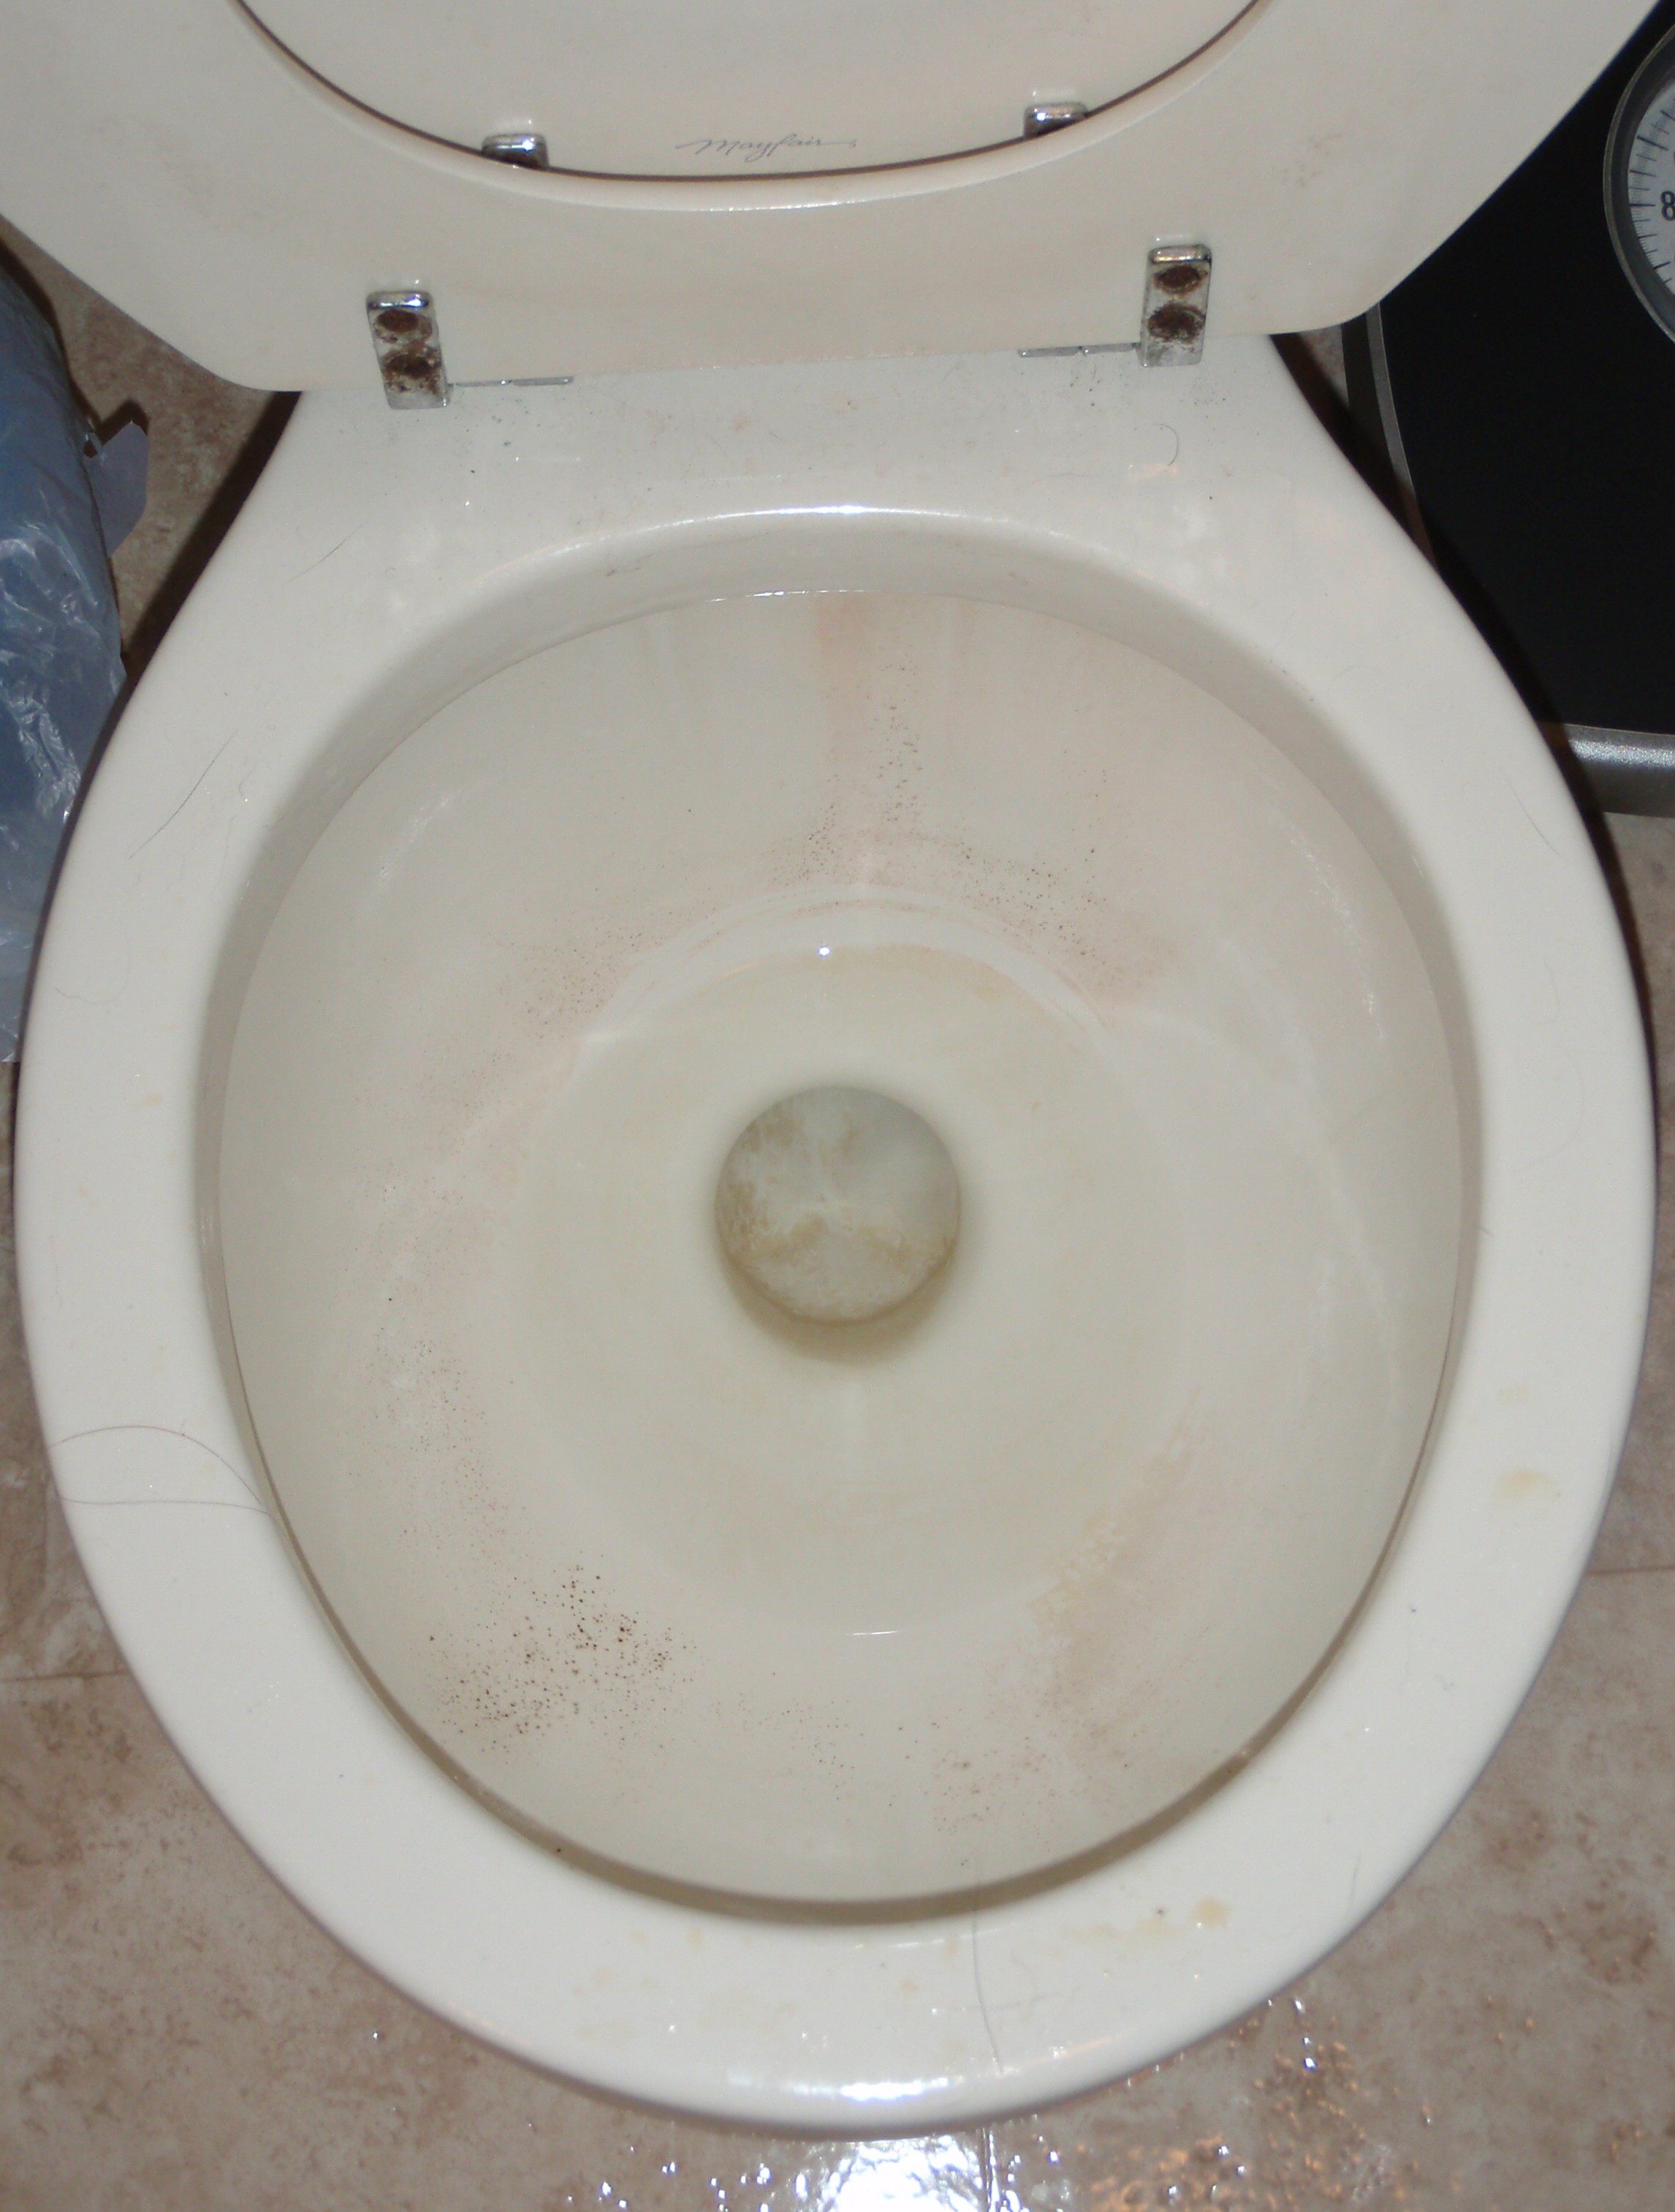
 

Before & After
I apologize for the gross Before photos, but they are necessary for an effective Before & After comparison.
homemade toilet bowl cleaner  I  frozen pizza, again? homemade toilet bowl cleaner  I  frozen pizza, again?
Check out the bottom left photo; Tiger made a cameo appearance!

{Notes}

  • You may see a little dirt in the hole at the bottom of the bowl after it had been cleaned. That came off the plunger, which had been outside, and it was easily flushed away.
  • It is possible to plunge more water out of the toilet than shown in these photos. I have used this cleaner again since the first attempt pictured above, and I was able to plunge the water completely out of the bowl with some only remaining in the hole at the bottom of the bowl.
  • It’s worth it to spend a few extra dollars to get a sturdy, long-handled plunger and toilet scrubber. Russell and I bought the cheapest ones available at Target when we first moved into our house; they get the job done but I have to work a lot harder.


-♥-
Katy


If you liked this post, you might also be interested in:

armpit stain remover  I  frozen pizza, again? burned dessert bottom  I frozen pizza, again? honey tip  I  frozen pizza, again?
Armpit Stain Remover // How Not to Ruin Dessert // How to Easily Measure Out Honey

homemade taco seasoning mix

Standard

homemade taco seasoning mix  I  frozen pizza, again?

 
Did you know that there is an alternative to using a store-bought packet of taco seasoning mix for making tacos? I hadn’t really thought about it until I came across this recipe for homemade taco seasoning mix. Growing up, my family used a lot of prepackaged, store-bought food items so I didn’t give much thought to the fact that before there were stores like Walmart or Publix people had to make almost everything on their own.

[Let me say this: There is absolutely nothing wrong with using all store-bought items to feed your family. Do not let anyone shame you for taking care of your family the best way you can, even if that means you never bake a loaf of bread from scratch. Like I said, I grew up on a lot of prepackaged meals (heck, I still like mac and cheese from the blue box) and I think I turned out just fine.]

If you have the time, though, you should really try this homemade taco seasoning. It’s super easy and quick to make, and you probably have a lot of the spices in your pantry already, unless you are still building your pantry staples like I am. If you do fit in the latter group, don’t be afraid to buy so many spices for one recipe because you will find a lot of other uses for them.

 
homemade taco seasoning  I  frozen pizza, again?

 
Taco Seasoning Mix
From the Kitchen of: Bill Echols on allrecipes.com

Prep Time: 1 min
Servings: about 1 oz
Difficulty: Super Easy

{Ingredients}
1 Tbsp chili powder
¼ tsp garlic powder
¼ tsp onion powder
¼ tsp crushed red pepper flakes
¼ tsp dried oregano
½ tsp paprika
1 ½ tsp cumin
1 tsp sea salt (I used regular table salt and halved the amount)
1 tsp black pepper

{Instructions}
Mix all ingredients together in a small bowl. Store in an airtight container. Substitute 2 Tbsp homemade taco seasoning for 1 packet taco seasoning mix.

{Notes}

  • The heat level of this seasoning is mild.
  • You may need to add 1 Tbsp cornstarch or 1-2 Tbsp flour along with seasoning mix to thicken up sauces.
  • This recipe easily multiplies so you can make a lot and store it for future use.


-♥-
Katy


If you liked this recipe, you might also be interested in:

soft bread crumbs  I  frozen pizza, again? fiesta taco skillet1  I  frozen pizza, again? seven layer cookies  I  frozen pizza, again?
Homemade Soft Bread Crumbs // Fiesta Taco Skillet // Seven Layer Cookies